
While having a sauna in your home for relaxation is nice, high construction costs usually prevent people from having one in their homes. Luckily, a container sauna from a converted shipping container offers a cheaper alternative thanks to its DIY nature.
With the right know-how, making a container sauna in your home doesn’t sound so far-fetched anymore. Being environmentally friendly, portable, and affordable, container saunas are some of the most wholesome conversions of shipping containers on the market.
Contents
Considerations Before Setting Up the Sauna
Before creating a container sauna, there are a few important things to think about. First, collect the required permits by checking your area’s building and zoning codes. Ensure the area is flat and has adequate drainage before placing the container there.
To maintain ideal temperatures and avoid moisture buildup, see if your insulation and ventilation systems are sufficient. Choose between a wood-burning or electric heater and assess their safety precautions and utility availability.
Finally, account for your entire budget which should cover revisions, materials, and continuing maintenance expenses.
Steps for Building the Sauna
Once you’ve taken care of all pre-construction considerations, it’s time to set up the container sauna in your home:
Choosing the Right Container Size
Picking the ideal container size is the first step. Although many sizes are available, most home sauna projects are suitable with a 20-foot container. A small to medium-sized sauna, comfortably accommodating four to six persons, can fit inside its substantial space.
Find containers free of rust and have a solid structure. Because COR-TEN steel is strong and resistant to weather, it is the primary construction material for shipping containers; nevertheless, you need to make sure the container you select is in good shape.
Think about buying containers from reliable vendors who provide pre-inspected ones like Tradecorp.
Key considerations when selecting a container:
- Size: Depending on available space and the desired size of the sauna, choose either a 20- or 40-foot container.
- Condition: Good frame with very little corrosion and no structural problems.
- Ventilation and Drainage: Choose containers with no damage from water and pay attention to the vent installation process.
Planning the Layout
It is important to plan the container’s inside arrangement before making any adjustments to it. A standard sauna needs:
- A hot room to place the heater (either wood-burning or electric).
- Benches for sitting or lying down.
- Ventilation for air circulation and moisture control.
If there is enough space, you can add a tiny change area. Most home saunas only use the hot room to make things straightforward.
Pro Tip: Before moving on, measure and sketch out your layout with tools like CAD. This will assist you in seeing the area and making any required changes.
Modifying the Shipping Container
It’s time to make changes to the shipping container once you finalized the layout design. The most crucial changes are cutting off areas for windows, doors, and ventilation.
- Cutting the door: You can either install a new door or utilize the current container doors. Installing a sauna-specific door would be a preferable alternative because the current doors are heavy.
- Adding windows: Make space for windows if you want natural light. Double-pane windows can help you keep insulation in place.
- Ventilation: A sauna must have adequate ventilation. To let air flow, you’ll need to make holes for the exhaust and intake vents.
Make sure all of your cuts are accurate and apply an anti-corrosion paint coating to stop the metal from rusting. It is also important to frame these holes so that windows, vents, and doors fit properly.
Insulating the Sauna
Since the metal construction of shipping containers conducts heat and cold, insulation is essential to keeping your sauna at a constant temperature. Retaining the heat and preventing the cold is the aim.
- Spray foam insulation is popular since you can use it to create a tight seal and aids in preventing condensation. You should apply the insulation to the container’s walls, ceiling, and floor. Make sure the insulation is at least 2 inches thick on all sides.
- If you want a more natural material, you can also use rock wool insulation. It has superior thermal qualities and is fire-resistant.
Remember to cover the insulation with a vapor barrier like a thick plastic sheet to stop moisture from leaking in. This will keep your sauna dry and toasty while protecting the container’s structure.
Installing Interior Cladding
Installing cladding will give the container’s interior the traditional sauna appearance after you insulate it. Sauna walls and seats are usually constructed from cedar or aspen wood because of their strength, heat resistance, and ability to withstand warping.
- Begin by covering the insulation with wooden studs to create a structure on which the wood paneling will be mounted.
- Faste the aspen or cedar planks to the studs by nailing them there.
Lastly, don’t forget to include room for benches, ventilation, and the heater to provide full amenities inside the container.
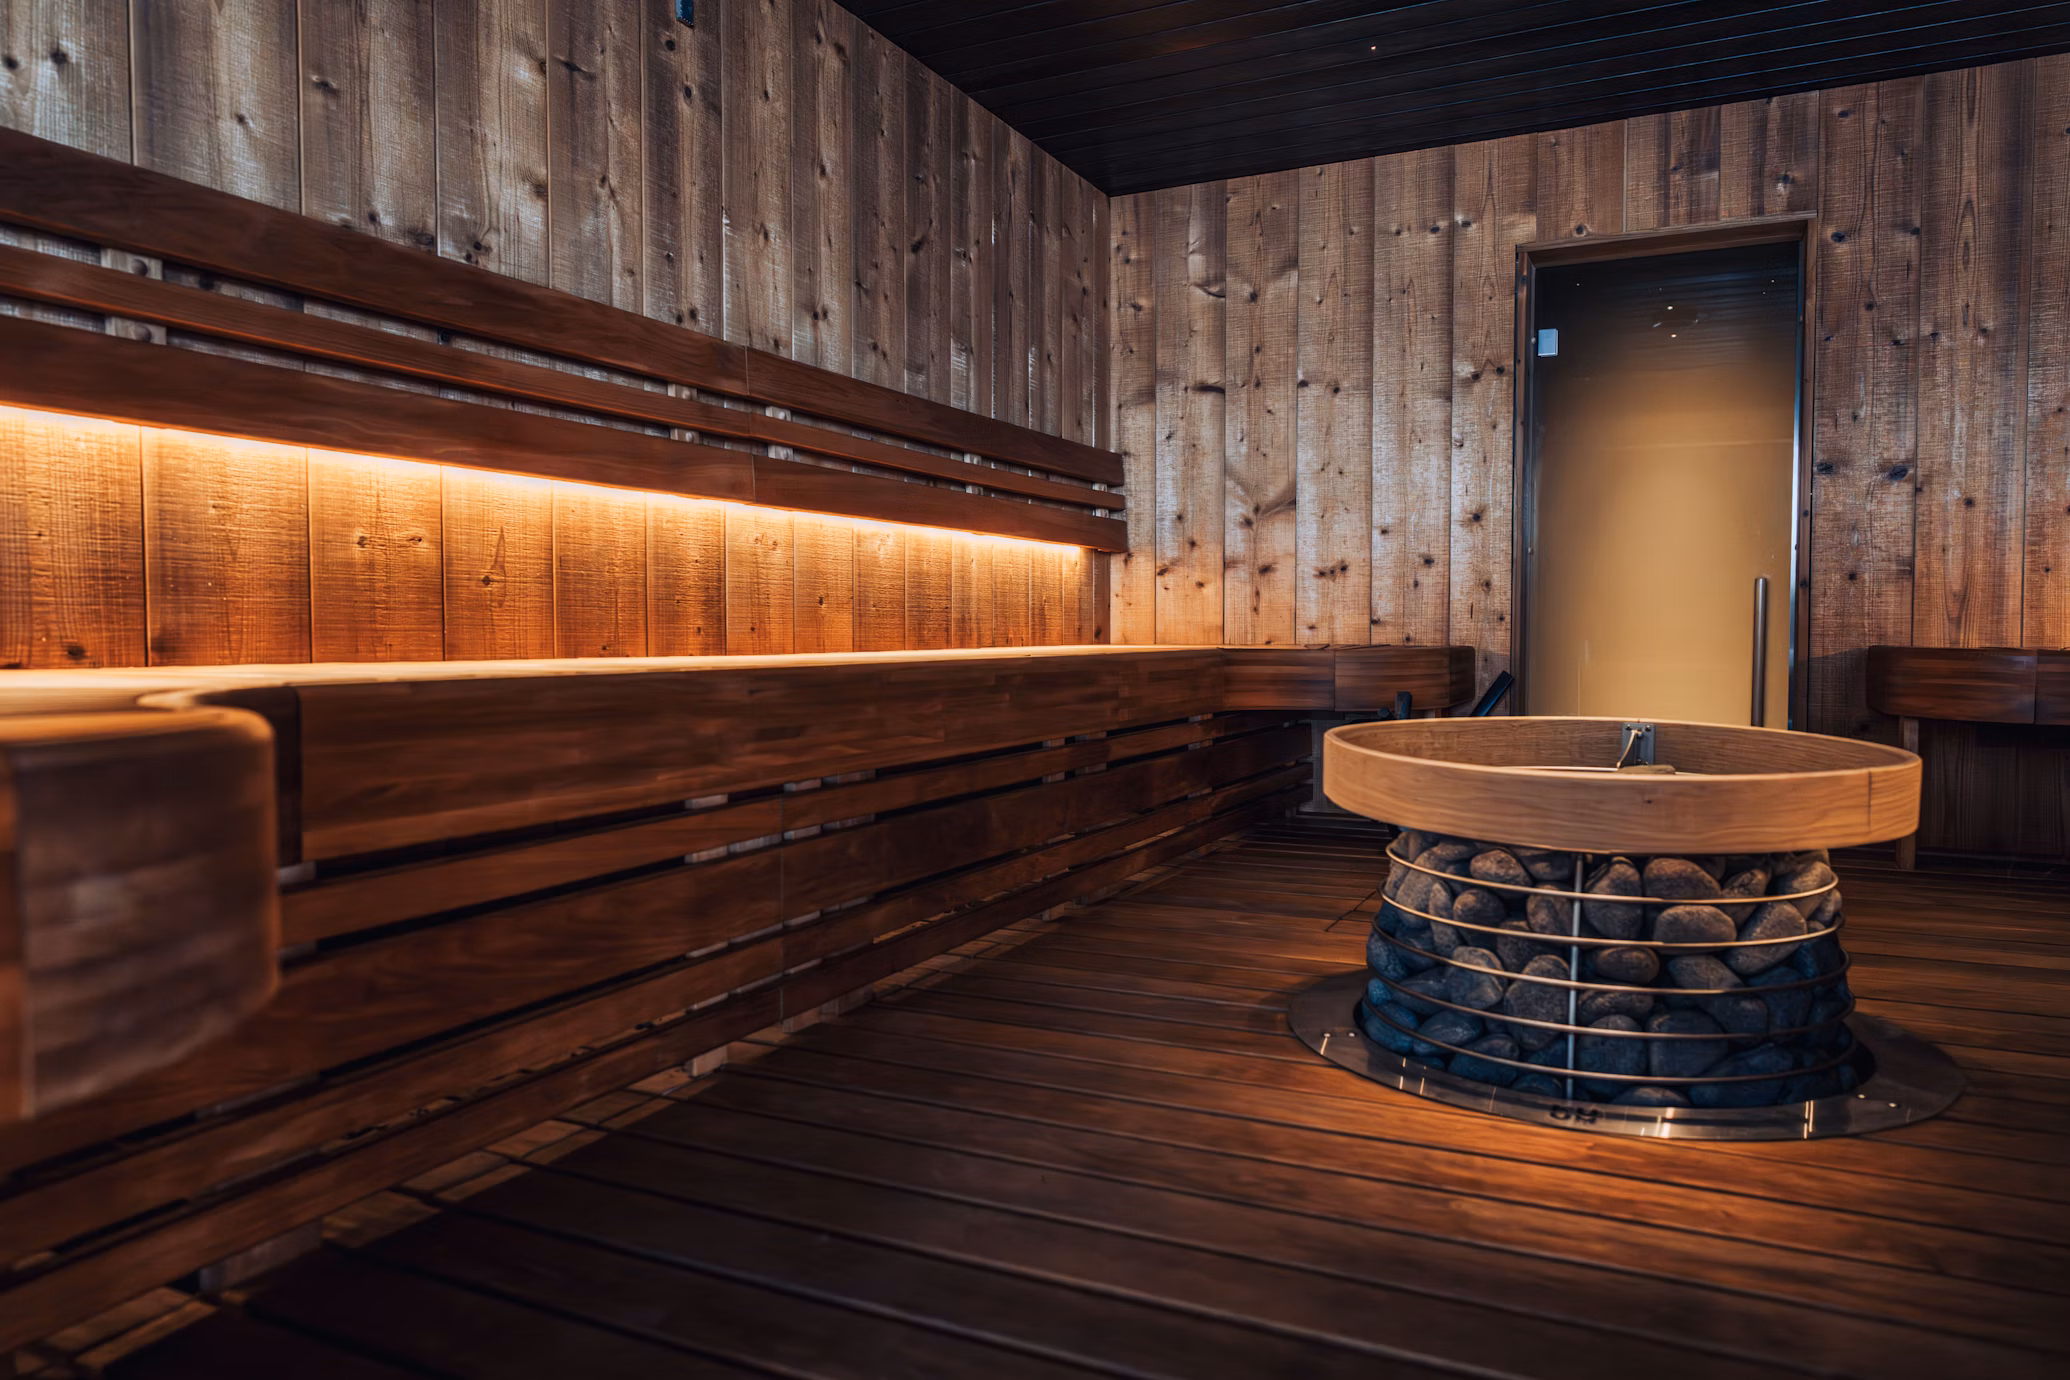
Adding Benches
Set up the sauna benches properly because they are essential for the sauna experience. Because of their resilience to heat, cedar or aspen are also frequently used for benches.
To accommodate varying temperatures, build a colder lower bench near the floor and a hotter upper bench near the ceiling. Provide enough ample space between the bench and the heater to minimize accidents.
Installing the Sauna Heater
The heater is the sauna’s fundamental component. Here, we have two options you can choose as your sauna’s heater:
- Wood-burning heater: This type provides a true sauna experience, though you need ventilation to vent the smoke.
- Electric heater: Easier to install and use, as it simply requires an electrical connection. Ensure the heater (about 1 kW for every 50 cubic feet of space) is the right size for the area.
Above all, follow the manufacturer’s installation instructions exactly, especially on the ventilation and safety clearances. Furthermore, you’ll also need a heat-resistant floor covering underneath the heater.
Ventilation and Safety
It goes without saying, but effective ventilation is important to create a safe and efficient sauna. You’ll need at least two vents:
- Intake vent: This vent allows fresh air to enter the sauna.
- Exhaust vent: Placed close to the ceiling, this vent allows hot air and humidity to escape.
This circulation keeps the air in the sauna from being too dry or hot, giving a more comfortable experience.
Safety Tips:
Fulfilling security protocols below can help you experience your container sauna without worry:
- Fit a temperature sensor to keep an eye on the temperature.
- Place a smoke detector outside if you want to use a wood-burning heater.
- To avoid fires, place heat-resistant materials close to the heater.
Finishing Touches
Lastly, to improve the experience, add some unique touches to your sauna. You can add accessories like towel hangers, an essential oil diffuser, or a bucket and ladle for pouring water over hot stones. Soft lighting is a good idea, which means things like LED strips work well in saunas.
Conclusion
Once you followed all the necessary steps to build a container sauna, you can enjoy a long-lasting and portable sauna facility only in your home. If you need a convertible container to construct your sauna, look no further than Tradecorp’s offerings. With over 35 years of considerable experience in the container industry, Tradecorp’s 20’ and 40’ containers are unmatchable as building blocks for DIY container architecture projects.