Knowing how to insulate a shipping container before using it for any purpose can help you in the long term. Despite their protective capabilities, containers unfortunately don’t come with comprehensive insulation features.
And yet, everyone uses these steel containers for anything from cargo shipment to container homes. While they are resistant to water and wind, their steel construction isn’t exactly temperature-proof.
For this reason, knowing how to insulate a shipping container is important. Regardless of your project’s nature, insulating it will make the container safe from anything.
Why Insulating a Container is Important
The most common material for shipping containers is steel, which is strong yet infamous as a cold and heat conductor. A container can change into a winter freezer and a summer oven if not insulated.
In addition to being necessary for comfort, insulation helps maintain a constant interior temperature, which lowers the demand for heating and cooling and saves energy.
Insulation also prevents condensation, which can cause rust and even structural damage, if you use the container in a high-humidity area.
Additionally, insulation offers soundproofing, making it useful if you plan to use the container as a home or place of business since it blocks out outside noise and prevents sounds from escaping inside.
Popular Types of Shipping Container Insulation Materials

There are several popular insulation materials each with their benefits, installation requirements, and costs. Here’s a look at the most common insulation materials for shipping containers:
Spray Foam Insulation
Spray foam insulation is a liquid polyurethane foam that expands and hardens when we spray it onto a surface.
This is one of the best insulations for shipping containers because it provides excellent thermal protection and moisture resistance. It also forms a strong barrier against air leaks.
However, spray foam can be more expensive upfront and may need professional installation due to the required equipment and skills.
Regardless, spray foam is most suitable for extreme temperatures or high humidity thanks to its superior insulating and moisture-proofing qualities.
Rigid Foam Board Insulation
Rigid foam boards are large, flat panels made from materials like polystyrene or polyisocyanurate.
These boards are durable, have high insulating values, and are relatively easy to install. They’re also resistant to moisture, making them ideal for container interiors.
While they provide excellent insulation, they can take up more space than spray foam, reducing your interior square footage slightly.
This insulation is perfect for DIY enthusiasts or anyone looking for a cost-effective, easy-to-install solution.
Blanket Insulation (Fiberglass or Mineral Wool)
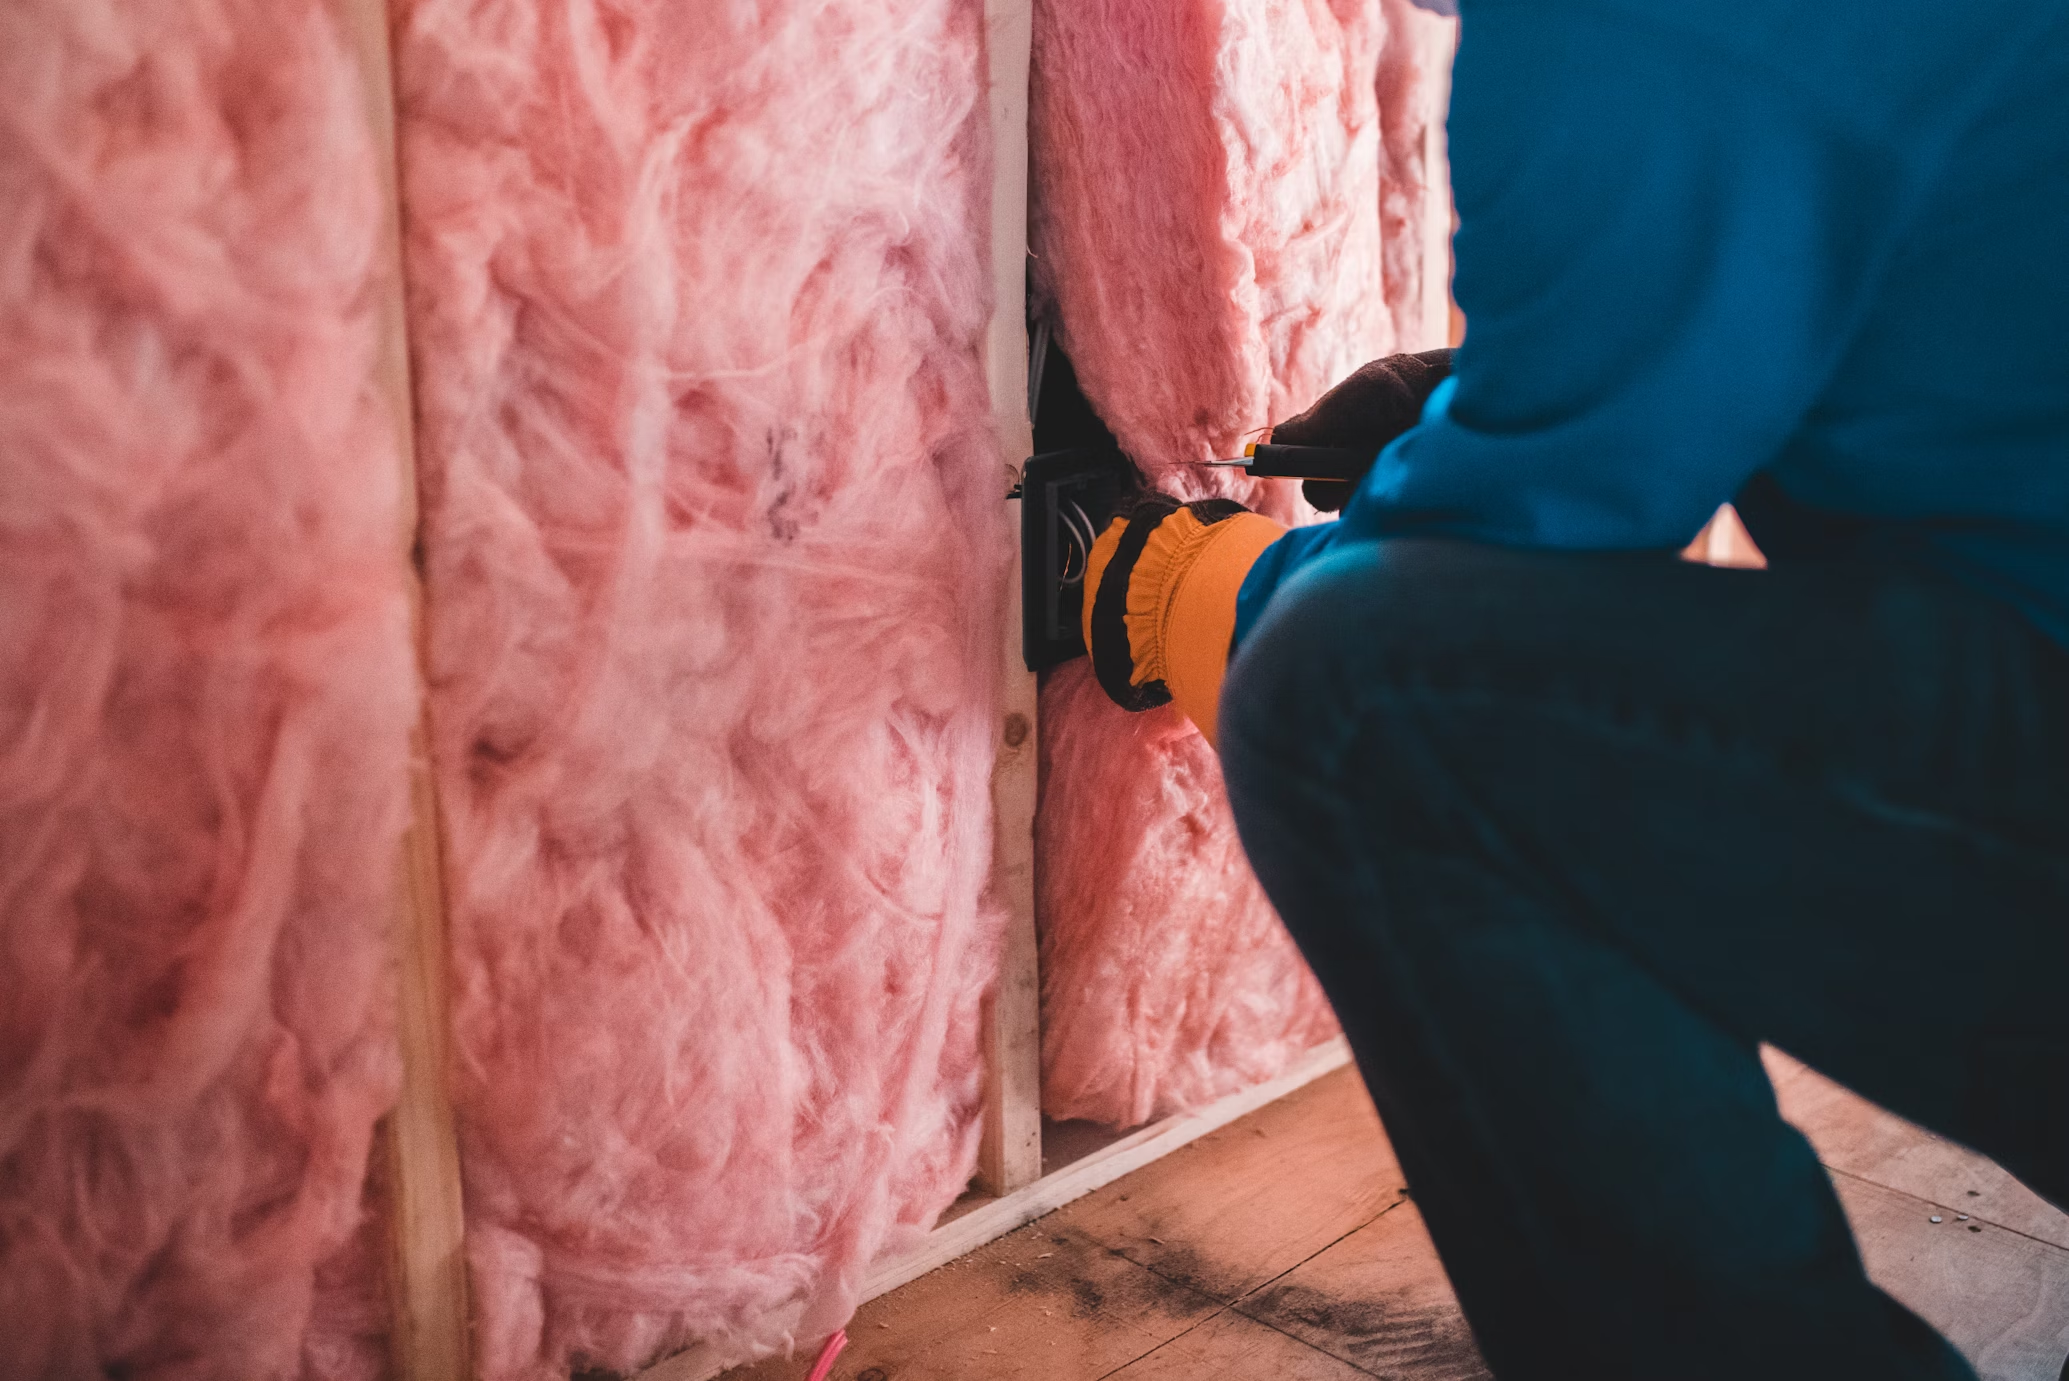
Blanket insulation consists of rolls or batts of fibrous material, often made from fiberglass or mineral wool.
Blanket insulation is easy to install, relatively inexpensive, and widely available. Fiberglass has good thermal insulation properties, while mineral wool is also fire-resistant.
Meanwhile, fiberglass can be tricky to install properly in a container due to its need for framing, and it’s not as moisture-resistant as other options.
You can use this insulation fittingly in places with mild climates or minimal temperature extremes.
Insulated Panels
Insulated panels combine a rigid foam core between two layers of materials like plywood or metal.
Panels are easy to install, provide excellent insulation, and can also add structural support. They are a good fit for container walls and ceilings.
As a downside, insulated panels can be pricier than some other options and may be difficult to cut or adjust to fit snugly.
Anyone looking for a quick, efficient insulation solution that’s also decorative and strong can use these panels in their containers.
Recycled Insulation Materials
Lastly, eco-friendly alternatives like recycled denim or cellulose can provide insulation for a container while keeping waste out of landfills.
Environmentally friendly and often affordable, recycled insulation offers decent thermal and sound insulation.
However, this insulation type doesn’t perform as well as foam or rigid insulation, particularly in areas with high humidity.
Nonetheless, those interested in sustainable building practices or those in milder climates can use this insulation.
How to Insulate a Shipping Container
Now, let’s get into the steps of insulating your container before using it for various projects.
Clean and Prepare the Surface
Start by thoroughly cleaning the container’s interior surfaces. Remove any rust or debris, and make sure all areas are smooth and dry. Apply a rust-proof primer or paint if necessary as it helps prevent corrosion.
Measure and Cut the Insulation
Measure each surface you plan to insulate, including the walls, ceiling, and floor. Depending on the material, cut the insulation to fit. For example, cut each board to the exact dimensions of the walls and ceiling if you’re using the rigid foam board.
Apply Insulation to Walls and Ceiling
Applying the insulation can be different from one insulation type to another. If you choose the spray foam, apply it directly to the walls, ceiling, and floor in thin layers to ensure even coverage.
For rigid foam or rock wool, attach each piece to the walls and ceiling with adhesive or screws. Seal any gaps with spray foam or caulk to prevent air leaks.
Add a Vapor Barrier
A vapor barrier is important if your insulation material is susceptible to moisture (like fiberglass batts). It prevents moisture from penetrating the insulation and causing mold growth.
Finish with Interior Cladding
After you insulated the container and vapor barriers are in place, you can cover the interior with drywall, plywood, or other cladding materials to protect the insulation and give the container a finished look.
Vapor Barrier vs. Vapor Retarders

When you insulate a shipping container, understanding moisture control is important. Containers are airtight by design, so if any moisture gets inside, it can cause condensation and rust. This is where vapor barriers and vapor retarders come in.
Vapor Barrier
A vapor barrier is a solid, impermeable layer that can prevent moisture from passing through your insulation.
It’s often made of plastic or foil and you can place it between the container walls and insulation material.
Vapor barriers are ideal for high-humidity climates or areas where the temperature frequently fluctuates. They provide a complete seal to keep moisture out, which is important for steel containers.
While vapor barriers offer robust protection against condensation, they can also unfortunately trap moisture if you don’t install them correctly.
Vapor Retarder
Unlike a barrier, a vapor retarder is semi-permeable, meaning it allows some moisture to pass through while slowing down the moisture movement rate.
Vapor retarders are common in climates with moderate humidity. They’re best suited for areas where you want some moisture control but don’t need a completely airtight barrier.
They provide some protection against moisture buildup without the risk of trapping moisture entirely, which can be useful in areas with lower humidity.
In most cases, installing a vapor barrier or retarder with insulation helps to prevent rust and extends the container’s life. It’s important to choose the right one based on your climate and the insulation type you’re using.
Cost Breakdown of Insulating a Shipping Container
Insulating a shipping container isn’t a one-size-fits-all process. If anything, related costs can vary widely based on your insulation choice, container size, and whether you opt for DIY or professional installation. Here’s a general breakdown:
Spray Foam Insulation
- Cost: Approximately $1.50 – $3.00 per square foot.
- Installation: Usually needs professional installation that can add labor costs from $500 to $1,500 depending on container size and region.
- Total: Expect to spend around $1,500 – $3,000 for a 20-foot container and about $3,000 – $6,000 for the 40-foot variant.
Rigid Foam Board Insulation
- Cost: Around $0.50 – $1.50 per square foot for foam boards.
- Installation: You can minimize costs since this insulation can be DIY in nature. However, you may need additional materials like adhesive and a saw to cut the boards.
- Total: You might spend around $500 – $1,000 for a 20-foot container and roughly $1,000 – $1,500 for the 40-foot one.
Blanket Insulation (Fiberglass or Mineral Wool)
- Cost: Between $0.30 – $1.00 per square foot.
- Installation: It can be DIY, but you’ll need to frame out the walls first. Framing materials may add another $200 – $500 to your total.
- Total: Expect costs for a 20-foot container to be around $300 – $700, and for a 40-foot container, around $600 – $1,000.
Insulated Panels
- Cost: $1.50 – $3.00 per square foot, but prices vary based on the materials and thickness.
- Installation: Panels can be DIY-friendly, but cutting them to size might require specialized tools.
- Total: A 20-foot container might run between $1,500 – $3,000, and a 40-foot container from $3,000 – $6,000.
Recycled Insulation Materials
- Cost: These materials can cost between $0.50 – $1.50 per square foot depending on the insulation type.
- Installation: Typically DIY-friendly, but installation may be trickier than standard insulation.
- Total: Expect to spend around $500 – $1,000 for a 20-foot container and $1,000 – $2,000 for a 40-foot container.
As an additional note, you can use tools like the R-value map of the United States to check your region’s insulation levels. With the tool’s accuracy, you can wisely choose which insulation type suits the location.
Conclusion
Learning how to insulate a shipping container before any project is a worthy consideration to prevent unwanted damage or losses. If you need help in finding the best container for that purpose, choose only Tradecorp! With over 35 years of experience in the industry, Tradecorp provides the best container products no other services can offer. Contact us via quote form and we’ll reply immediately!

